-
Materials:
Post-it® Lined Notes, Scotch® Masking Tape, Post-it® Notes, green floral tape, wire, pencil, cork, scissors (and or utility knife)
-
Estimated Time:
10 - 15 minutes
-

-

Slice Slice
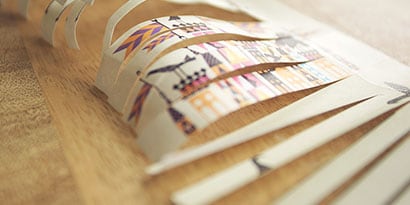
Pick out 6 sheets of your favorite list pad design, and cut equally spaced slits from the top of the ruled line all the way through the bottom.

-

Curl Power
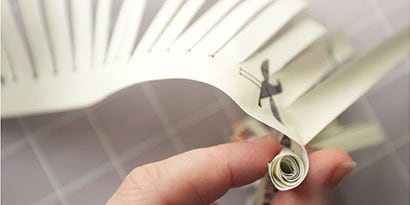
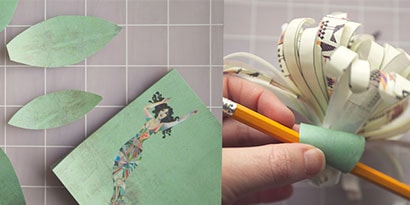
Join the 6 sheets together with Scotch® Tape at the top (the uncut part). Then take your pencil and curl the ends. Just wrap that fringe around the pencil a little.
-

Roly Poly
Roll up the paper lengthwise. Be sure to keep the design side on the outside so you can see it! Then use Scotch® Tape to secure the end.
-

Make Salad
Choose some leafy-looking paper and cut out leafs. Tape them to the base of your flower petals with Scotch® Tape and curl them with a pencil.
-

Hold On
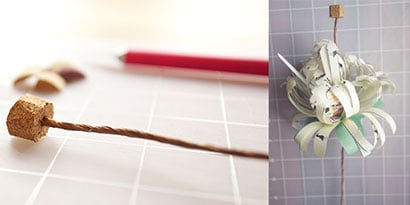
To make the stem, carve out a small circle from the cork. Then, take about 16 inches of wire and push it securely into the cork. Pass it through the top of the flower and out the bottom. As you pull the wire down, seat the cork exactly where a paper bee would like to find paper pollen.
-

Tangled up in Green
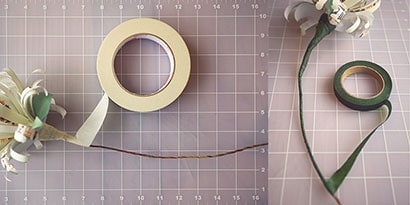
Wrap the whole stem with masking tape. Make sure to wrap the tape up onto the base of the flower so the stem won’t move. To finish, cover up the stem and flower base with green floral tape. Then primp and preen those petals to get the look you’re looking for.
