-
Materials:
Post-it® Notes, Scotch® Quick Drying Tacky Glue, Scotch® Masking Tape, green floral tape, wire, pencil, cork, scissors (and or utility knife)
-
Estimated Time:
15 - 20 minutes
-

-

Get the Pattern
Print out this flower template (PDF), then cut out the pattern size you want to make.

-

Make the Petals
Trace the petal patterns on your favorite colour Post-it® Notes. Trace 25-30 petals for the large peony, and 20-25 for the small peony.

-

Stir Up Some Glue
Pour half a bottle of Scotch® Quick Drying Tacky Glue (or about 60ml) into your bowl with 1/3 cup of water. Stir until combined. Then lay something down on your table. It’s about to get messy.

-

Dip and Stick
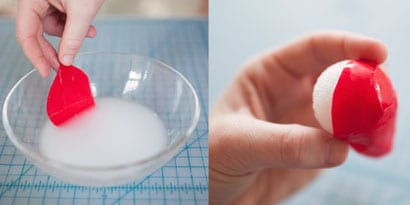
Dip a petal cutout into the glue mixture. Place each petal on the styrofoam ball. Smooth it down with your fingers to mold the paper together. Keep doing it until the ball is completely covered.

-

Taking Shape
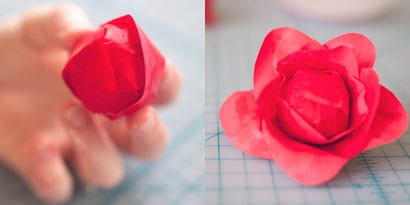
Once a base layer of petals is down, begin shaping the petals so they fan out (imagine a flower blooming). Repeat this step until your flower is in full bloom. Set aside until completely dry.

-

Stemwinder
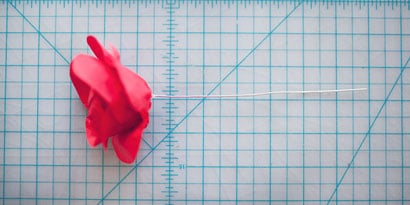
Once it’s dried, cut a 6-10 inch piece of wire. Poke it into the bottom of the blossom. Use glue to secure it.

-

Green Sleeves
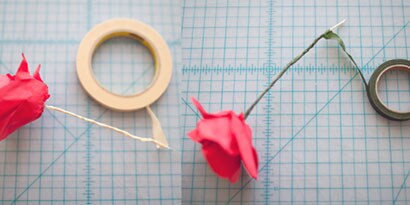
Wrap that wire up with Scotch® Masking Tape then follow with green floral tape, and you’re done!
Wow. That is one lovely peony. Pro tip: add variety by using all the different sized templates. A bouquet mix of small, medium, and large flowers is simply stunning.


